Dog Hole Template
Dog Hole Template - I ordered a drill guide and a 3/4 forstner bit and i will secure the drill guide to a template with a dog that i could move along and i will be drilling through both pieces of half inch plywood, 1 inch total and the two pieces of plywood will make up the top of the workbench. Milled square dog holes to fit specific steel dogs. This went one better than the trend, by doubling it in size. If the dog holes aren't aligned to begin with, then the face frames you build won't be square. I drilled the template on the drill press, spacing out an entire row of dog holes on it. I've seen videos of people using paddle bits with one of those drill press jigs like jim posted that you put your drill into. The dog hole has to be drilled at 90 degrees. The router had a template bushing on the base so the holds in the template were sized to this, not the 3/4 dog holes. If the pics don't make sense, please ask whatever you like. My table top is baltic birch and i found the amount of chip out on the back side when the bit went through to be too much. After routing that row, i repositioned the template to. 3) attach your simple jig to your workbench using carpet tape, or with a little bench hook attached to the front of the jig to reference it to the front of the bench and hold it in place with a clamp. Fortunately, i was offered the opportunity to make a template by a forum friend with a cnc. I've seen videos of people using paddle bits with one of those drill press jigs like jim posted that you put your drill into. The router had a template bushing on the base so the holds in the template were sized to this, not the 3/4 dog holes. The dog hole has to be drilled at 90 degrees. Round dog holes for the front vise. Fairly complicated way to proceed. I drilled the template on the drill press, spacing out an entire row of dog holes on it. My table top is baltic birch and i found the amount of chip out on the back side when the bit went through to be too much. I've seen videos of people using paddle bits with one of those drill press jigs like jim posted that you put your drill into. But i can make wood ones if i choose, fitting them to the holes for the metal dogs. If the dog holes aren't aligned to begin with, then the face frames you build won't be square.. The cheaper trend template is $300 in australia. The dog hole has to be drilled at 90 degrees. I've seen videos of people using paddle bits with one of those drill press jigs like jim posted that you put your drill into. I ordered a drill guide and a 3/4 forstner bit and i will secure the drill guide to. 3) attach your simple jig to your workbench using carpet tape, or with a little bench hook attached to the front of the jig to reference it to the front of the bench and hold it in place with a clamp. The cheaper trend template is $300 in australia. After drilling the holes in the template, i rounded over the. Fortunately, i was offered the opportunity to make a template by a forum friend with a cnc. 3) attach your simple jig to your workbench using carpet tape, or with a little bench hook attached to the front of the jig to reference it to the front of the bench and hold it in place with a clamp. I ordered. If the dog holes aren't aligned to begin with, then the face frames you build won't be square. My table top is baltic birch and i found the amount of chip out on the back side when the bit went through to be too much. After drilling the holes in the template, i rounded over the top side. Milled square. If the pics don't make sense, please ask whatever you like. If the dog holes aren't aligned to begin with, then the face frames you build won't be square. I ordered a drill guide and a 3/4 forstner bit and i will secure the drill guide to a template with a dog that i could move along and i will. But i can make wood ones if i choose, fitting them to the holes for the metal dogs. Fairly complicated way to proceed. I ordered a drill guide and a 3/4 forstner bit and i will secure the drill guide to a template with a dog that i could move along and i will be drilling through both pieces of. I ordered a drill guide and a 3/4 forstner bit and i will secure the drill guide to a template with a dog that i could move along and i will be drilling through both pieces of half inch plywood, 1 inch total and the two pieces of plywood will make up the top of the workbench. I drilled the. I ordered a drill guide and a 3/4 forstner bit and i will secure the drill guide to a template with a dog that i could move along and i will be drilling through both pieces of half inch plywood, 1 inch total and the two pieces of plywood will make up the top of the workbench. The router had. The router had a template bushing on the base so the holds in the template were sized to this, not the 3/4 dog holes. My table top is baltic birch and i found the amount of chip out on the back side when the bit went through to be too much. After routing that row, i repositioned the template to.. My table top is baltic birch and i found the amount of chip out on the back side when the bit went through to be too much. This went one better than the trend, by doubling it in size. If the pics don't make sense, please ask whatever you like. Fairly complicated way to proceed. But i can make wood ones if i choose, fitting them to the holes for the metal dogs. The dog hole has to be drilled at 90 degrees. I've seen videos of people using paddle bits with one of those drill press jigs like jim posted that you put your drill into. Round dog holes for the front vise. Milled square dog holes to fit specific steel dogs. 3) attach your simple jig to your workbench using carpet tape, or with a little bench hook attached to the front of the jig to reference it to the front of the bench and hold it in place with a clamp. The cheaper trend template is $300 in australia. The router had a template bushing on the base so the holds in the template were sized to this, not the 3/4 dog holes. After routing that row, i repositioned the template to. The template has 30mm holes and is used with a guide bush and 20mm router bit to create the 20mm holes. I ordered a drill guide and a 3/4 forstner bit and i will secure the drill guide to a template with a dog that i could move along and i will be drilling through both pieces of half inch plywood, 1 inch total and the two pieces of plywood will make up the top of the workbench.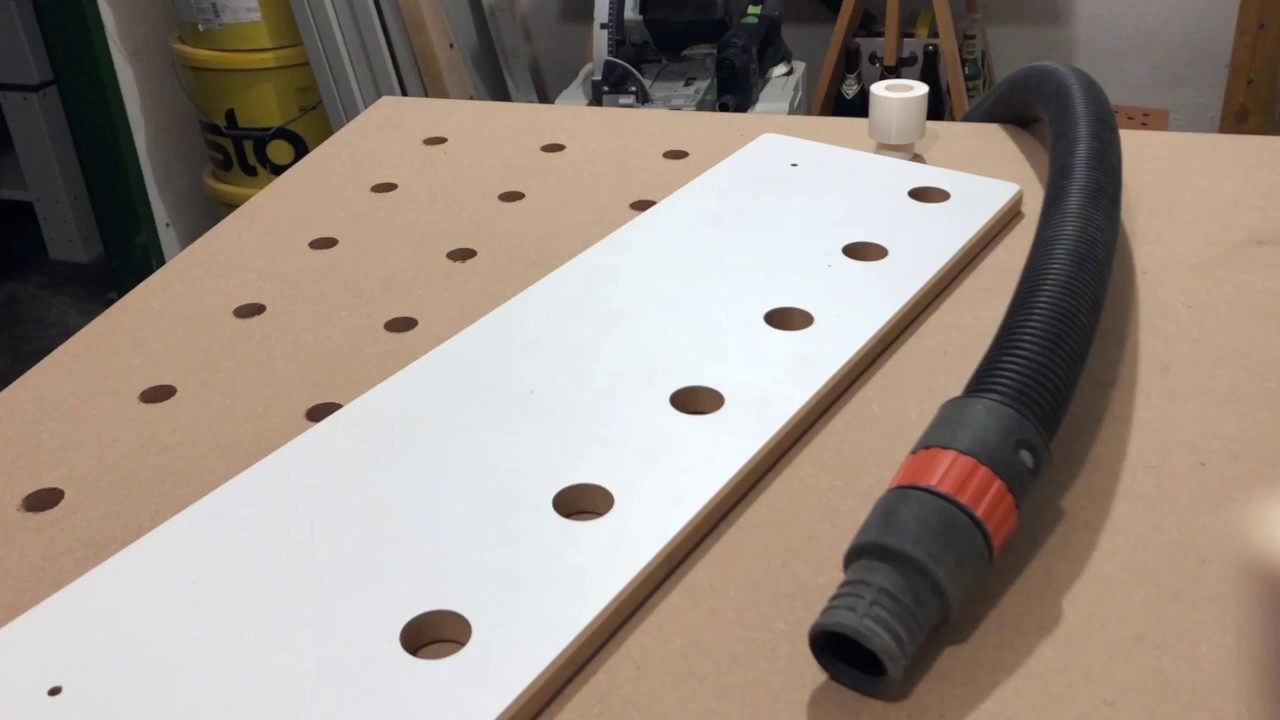
Drilling Workbench Dog Holes With Router Template YouTube

ROCKLER 63779 Bench Dog Hole Routing Template Instructions
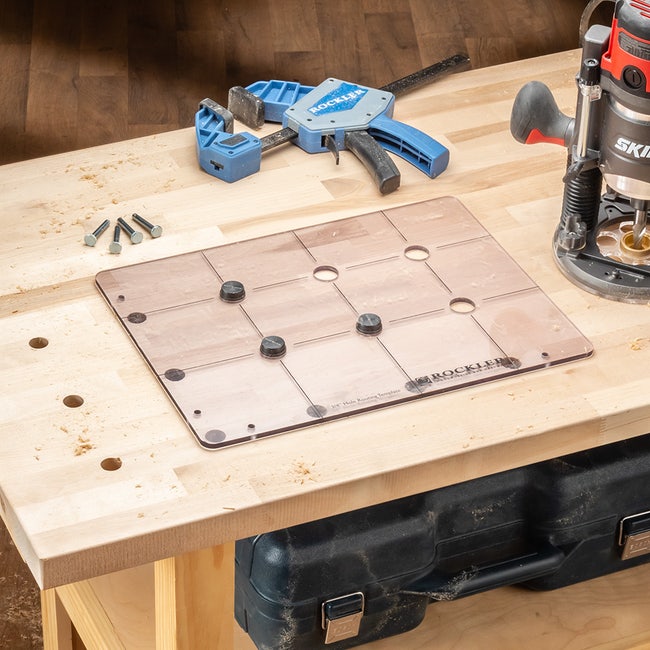
Rockler Dog Hole Routing Template Rockler

Rockler Dog Hole Routing Template Rockler

Dog Hole Template

Dog Hole TOOL Template

Dog Hole Template

Dog Hole Router Template Woodworking Talk

Rockler Dog Hole Routing Template Rockler
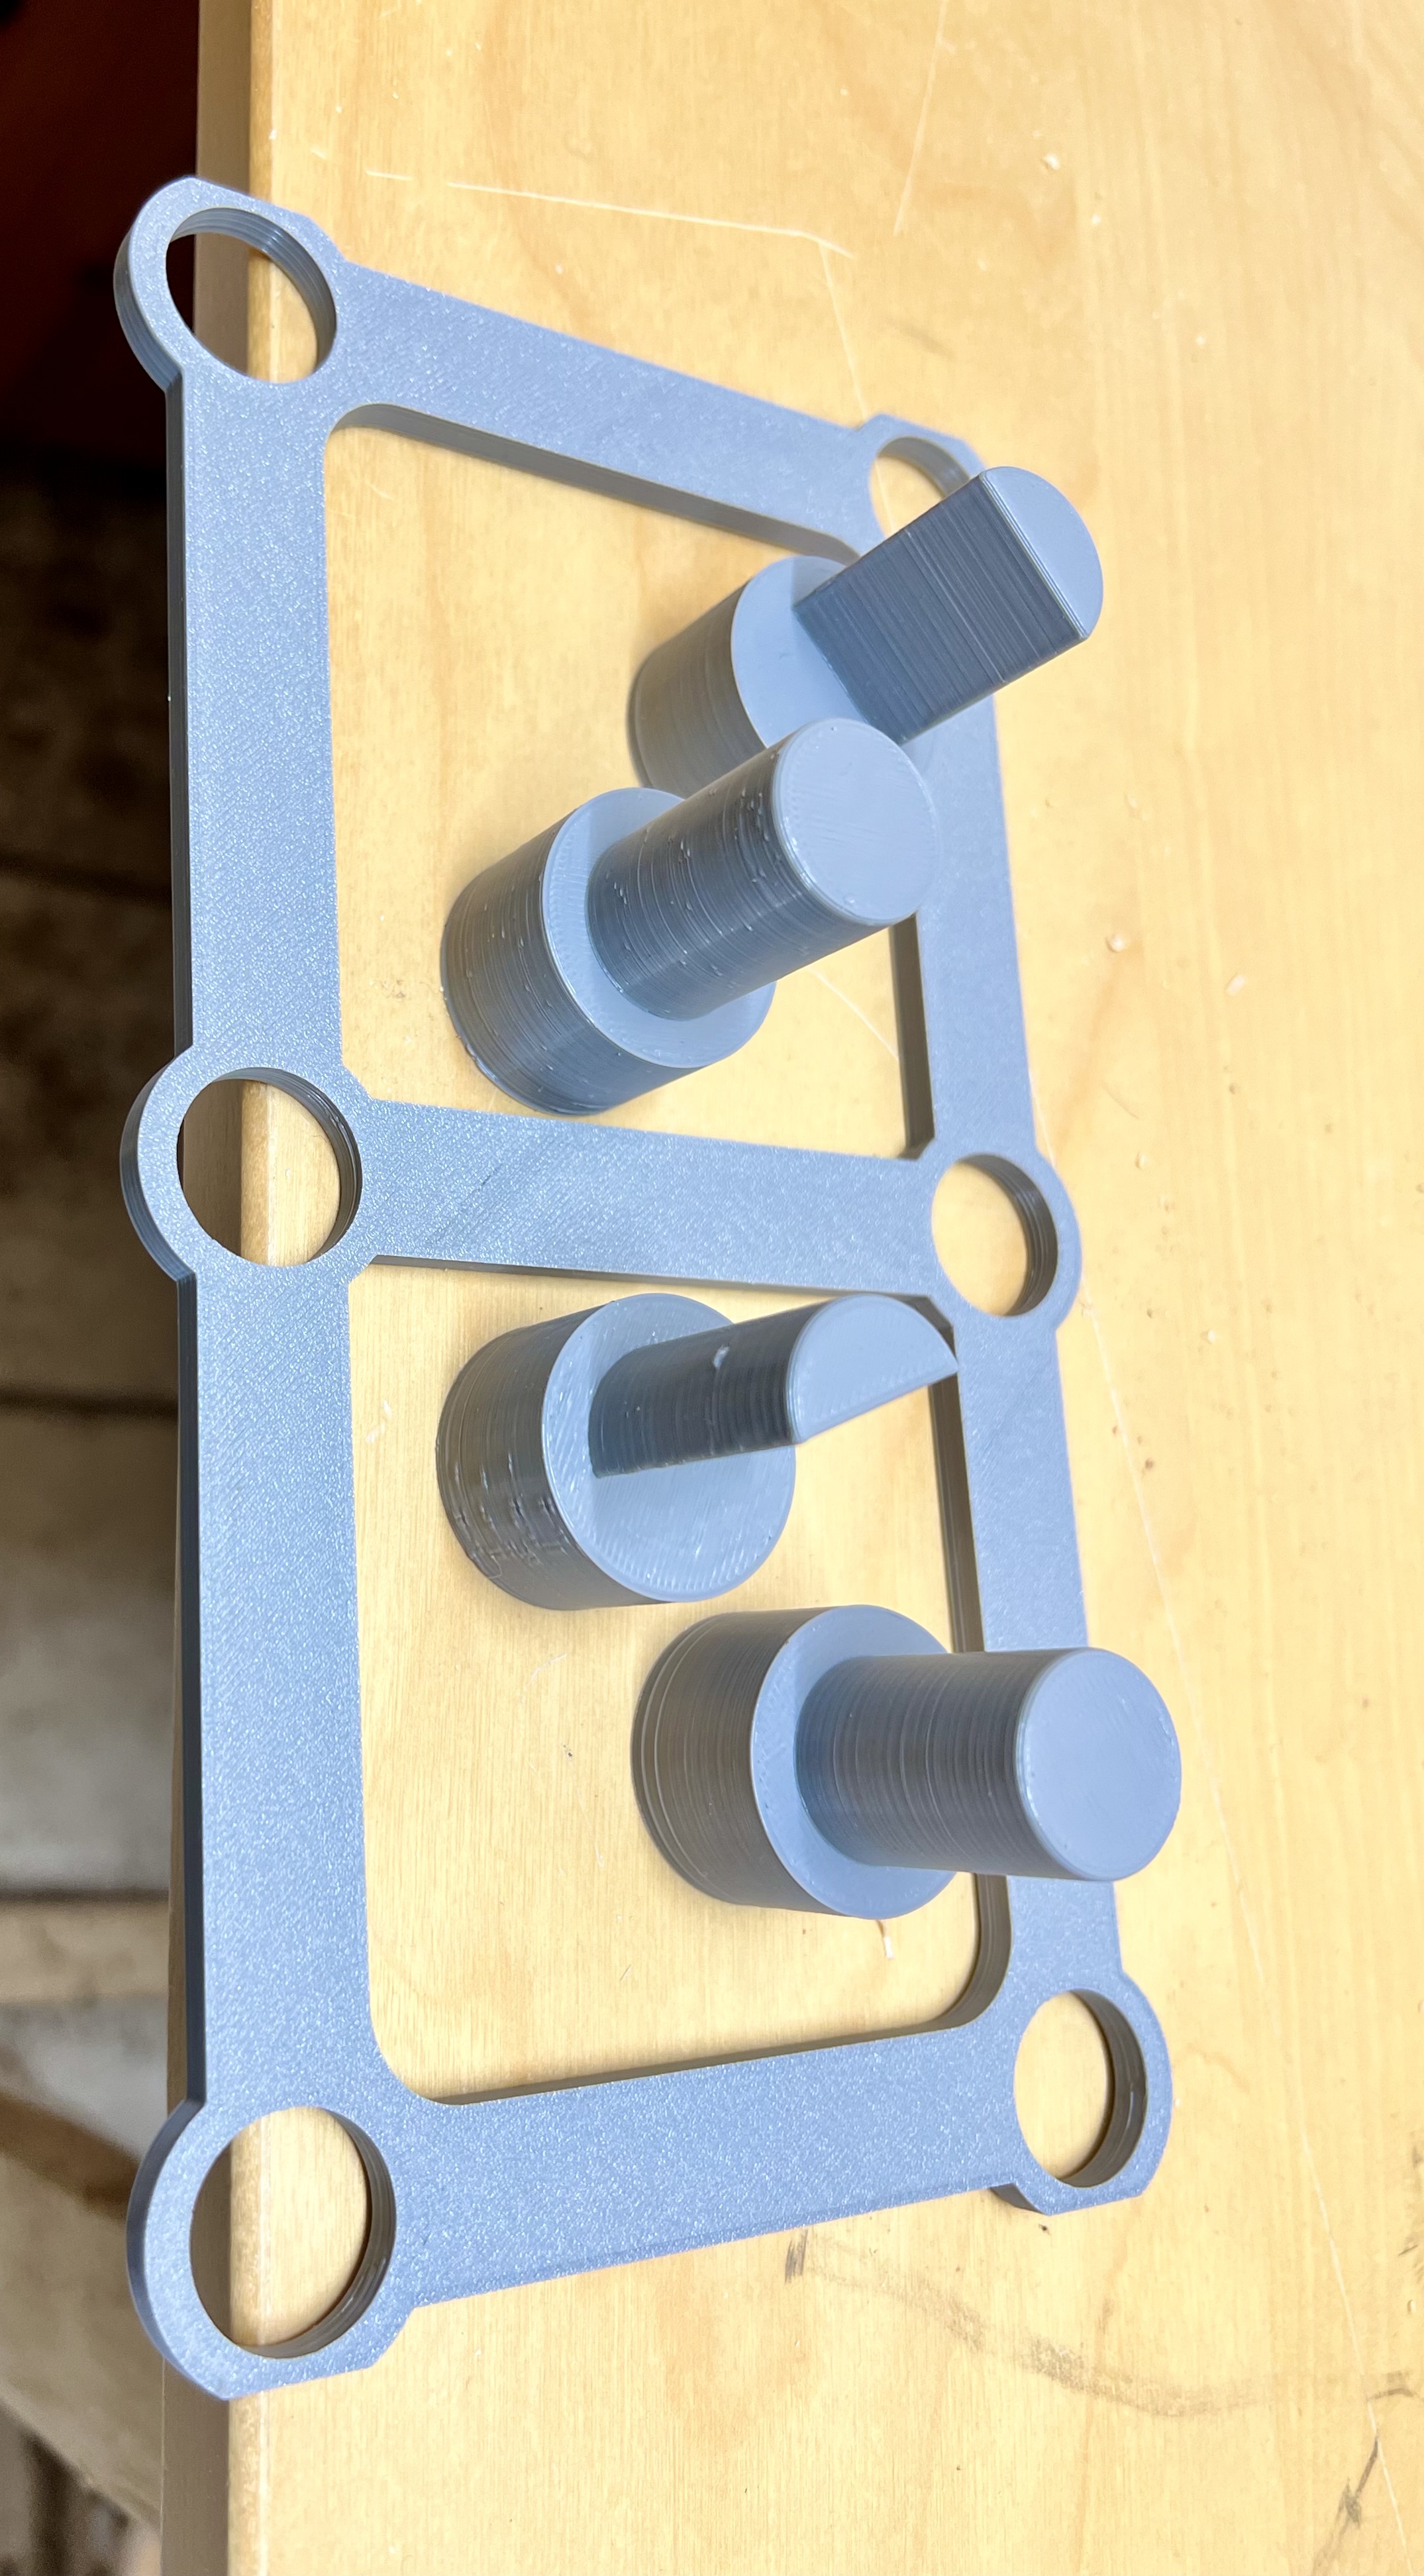
Dog Hole template 96x20mm by Daindi Download free STL model
If The Dog Holes Aren't Aligned To Begin With, Then The Face Frames You Build Won't Be Square.
After Drilling The Holes In The Template, I Rounded Over The Top Side.
Fortunately, I Was Offered The Opportunity To Make A Template By A Forum Friend With A Cnc.
I Drilled The Template On The Drill Press, Spacing Out An Entire Row Of Dog Holes On It.
Related Post: